since 2/28/10

Member
Copyright Protected
Blog Trains

CU license

Thursday, February 2, 2012
Things to do when the internet is down... Make tags!!!! Or make a tag and write a tutorial on how to do it....
SO heres a no scrap tag :).
SO heres a no scrap tag :).

Tutorial written by Mavy Storme
Just a note but if you are new to PSP you might not fully understand this tutorial as sometimes my thoughts do not come out quite the way I mean for them to when I write them down and I can be very hard to follow. I will explain to the best of my ability and hopefully you can follow my thoughts.
Kit: no scraps
Tube: Camilla Drakenborg CA0059 found here
Mask: none
Font: Mutlu, and Pixlette for copyright
Plug ins: Eye candy 3.1 glow and drop shadow, Lokas Software 3D shadow, plug in galaxy noiseee
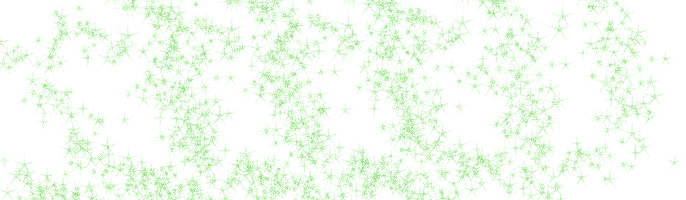
I usually open everything I’m going to use while to create the tag right then, some I actually use, others I tend not to, depends on how the tag turns out. In this case, I didn’t use any scraps all I have for you is a glitter background for the tag. Right click and save to your computer so that you can use it for your tag.
Now let’s see if I can explain how I made the tag…
I opened my tube and selected the layer I wanted, then I opened a new paper, 700 width by 200 height. Make sure your DPI is set to 72.000, mine does it automatically, but not everyone’s does.
Copy and paste your tube to the new image, resize to 50%. Go to your eye dropper looking tool (color select) and pick two colors from the tube you like best. I chose the green and black.
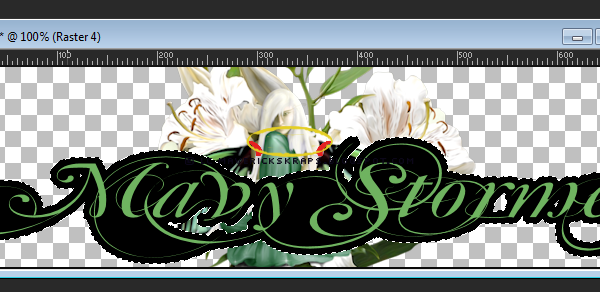
Go to your text tool and select a text , I used Mutlu, a very fancy script which tends to work well in these cases, but if you prefer a block type text, it will work as well. I used size 36, anti-alias sharp, and stroke at 0.0.
Write the person’s name on the tag, I use my own in the screen shots and Rapsody, owner of Up Your Art, where you can find the tube I used, in the tag you see above. Stretch the text to where it covers the width of the tag, and approximately half it’s height. Convert it to a Raster layer. Go to layers, create new raster layer and move it under your text layer. Select your text layer and go to your magic wand tool. Select all, go to selections and invert. Then go to modify and expand by 6.

Select your blank layer and flood fill the inside of your selected area with your second color.
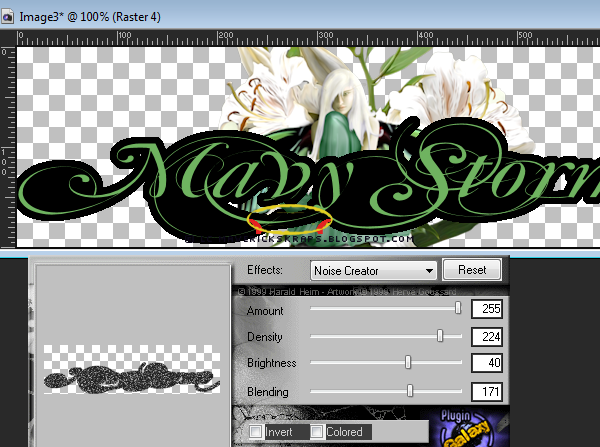
Deselect, go to effects, plug in galaxy, noiseee, and create a glitter effect.
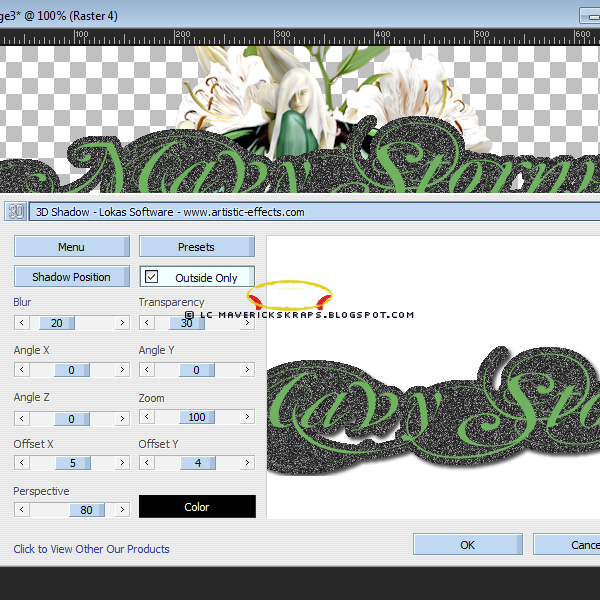
Select your text layer and merge down. Go to effects, lokas software, 3D shadow, see settings on image.
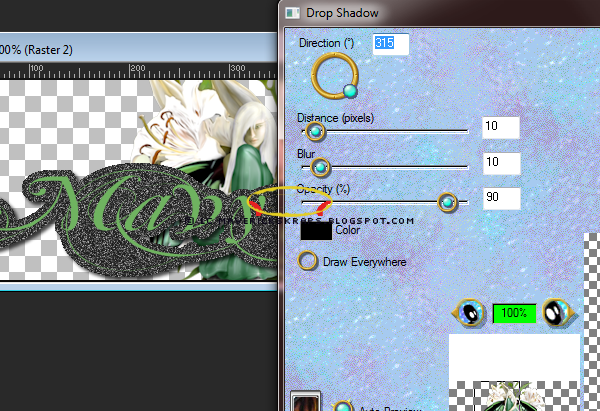
Select your tube layer, go to effects, eye candy 3.1, and then drop shadow. See settings on image.
You should now have 3 layers, your name layer, tube layer, and a blank raster layer. I have included a glitter layer in the tutorial, if you haven’t saved it, please do, and then open it in your psp, and copy and paste as a new layer. Move it under your tube layer.
Go to layers, and create a new raster layer, move it on top of all the other layers, you’ll want it for your copyrights so that it doesn’t create a conflict.
Add your copyright credits, I use pixlettte at size 10, with anti-alias off, and stroke width at 0. I convert to raster and add a glow (eye candy 3.1).
Hope you enjoyed and made use of this tutorial, thanks for looking!

Subscribe to:
Post Comments (Atom)
Tagger's Den
The Tagger's Den forum is dedicated to encouraging the free exchange of ideas and knowledge and to expanding the creativity of all it's members, taggers, designers and artists. We are committed to a deep and abiding belief that art should not be censored, that artists should not starve, and that every member should have equal access to all of the ...special things they need to fuel their individual creativity. We provide an endless stream of challenges and opportunities to win and earn tubes, scrapkits and more, plus there's always someone willing to offer a helping hand, be it a tagging problem or a human problem. We offer our hand in friendship to you and welcome you to the Tagger's Den. You can follow us on our blog too!
TYVM to Lesia for making this gorgeous blinkie for the Den!
TYVM to Lesia for making this gorgeous blinkie for the Den!
blinkies

here is my blinkie!
CT

I sell at

0 comments:
Post a Comment